Creative Ways To Tweak The Fit Of Any Sock Heel (Without Substituting!)
One of my biggest frustrations with how experienced sock knitters — and even expert sock designers! — respond to questions by newer sock knitters centres around making fit adjustments. I can't count how many times I've seen people being told that the only way they will ever make a sock that fits is to make it cuff-down with a gusset and heel flap. When I was a new sock knitter, people told me this too! I dutifully made a sock that way... and I hated it. I didn't like making it, and the fit was awful. I didn't try knitting socks again for two years, when I discovered toe-up socks and finally found my joy in sock knitting.
Once I began to dive into knitting socks in earnest, I quickly learned that, despite my genuinely-unusual foot shape — I have average-width feet that are very long with very high arches, to the point where few fancy shoes will fit me — there were actually lots of heel types that fit me nicely. Some heels also didn't fit me well, of course, but the "only a heel flap and gusset will fit you" statement was clearly untrue. My best-fitting socks all have a three-wedge short-row heel; however, I also happily wear comfortable, well-fitting socks with afterthought heels and gusset-and-heel-flap construction. It was so freeing to figure out that I didn't need to limit what I made to a subset of patterns — I could make whatever beautiful sock design I liked!
I hear you out there saying, "Why not just substitute whatever heel you want?" Well, that's definitely an option (and you can find my advice on heel substitution here), but it's certainly not the only path to knitting better-fitting socks! Substituting whatever heel you prefer works easily in some cases, but, depending on the pattern you're modifying and the other heel you're inserting, this can be complicated and even require overall-design modifications, and not everyone is comfortable making those kinds of significant changes to a pattern on their own. That means that a lot of people completely ignore lots and lots of patterns they might enjoy making, just because the designer has used the "wrong" heel! That's a shame, and I'm here to tell you that you don't have to do that. With a few tricks up your sleeve, you can make patterns with a variety of heel shapes and still end up with comfortable, beautiful socks, no matter what your foot shape might be.
Adjusting Socks With Gusset-And-Heel-Flap Construction
This is a subject you can find a lot of information about from many other sources already, so I'm going to be brief.
Adjusting Gusset Height/Shape In Toe-Up Socks
To make higher or lower gussets for a toe-up sock, you're going to need to do some math. First, you'll need to figure out what the "default" gusset and heel length is going to be in the pattern, taking into account differences between the designer's row gauge and your own row gauge (you can find all my formulas to help you do that in this article). Then, you'll need to figure out what your gusset and heel length will be, once you add or subtract gusset increases (or change the rate of increases) according to your own preferences.
The easiest way to make gussets of a different height, if it is available in the pattern grading and it's the right amount of adjustment for your foot, is to just use the gusset instructions (and length sizing information) for a different size. For example, if you're making a 64-stitch sock, you might be able to just follow the gusset instructions for the 72-stitch size, then work the heel turn and heel flap according to the 64-stitch size. All you have to do is extend the heel flap instructions to work more rows in order to "consume" the extra gusset stitches. Note that patterning in the gussets and/or on the heel flap might make this kind of adjustment more complicated; also, make sure you are prepared to manage the transition from heel to leg without much assistance from the pattern, because you will not be in the place the designer assumed you would be in at that point if you have changed the numbers in the gussets.
If you are only adjusting the rate of increases for the gussets — for example, working them every 3 rounds instead of every other round, for a longer "slope" on the gussets — and not the overall number of gusset stitches, you don't need to worry about changing the height of the heel flap (just the different gusset and heel length compared to what is provided in the pattern). However, you will still need to manage the transition to the leg on your own, since you didn't use the number of rounds the designer expected you to use to reach that point. For simpler patterns, or ones that have a range of leg-setup instructions to accommodate different foot lengths, this might not be difficult, but in some patterns it might be a more significant issue to deal with in a way that works aesthetically.
Adjusting The Gusset Height In Cuff-Down Socks
So, here is where I admit that I personally still hate making socks this way (I know, it's sock-designer sacrilege!) and therefore it would be silly for me to pretend to be an expert in this category. The "make a longer heel flap" and "use a different gusset decrease rate" fit-adjustment options for cuff-down, gusset-and-heel-flap socks are very well-covered by other designers with more expertise with this construction method, so I'm going to recommend that if you're looking for assistance doing this that you take advantage of one of the many books out there about "custom-fit socks" that discuss this specific option in detail.
Other Options For Subtle Fit Adjustments
Besides the basics above, there are also some creative ways you can change the fit of a gusset-and-heel-flap sock around the heel area without changing anything about the number of gusset stitches or number of gusset-shaping rounds stated in the pattern. An interesting (and easy to do) option for any pattern that has plain stockinette gussets is changing the gusset patterning; you can work the gussets in another stitch pattern that offers more room to spread (like 1x1 ribbing) for a stretchier fit, or in a slipped-stitch pattern like what is often used on a heel flap (such as sl1, K1 or Eye of Partridge stitch) for a more snug fit. For a more flexible heel flap, garter stitch or ribbing can be substituted for slipped-stitch patterning, as well.
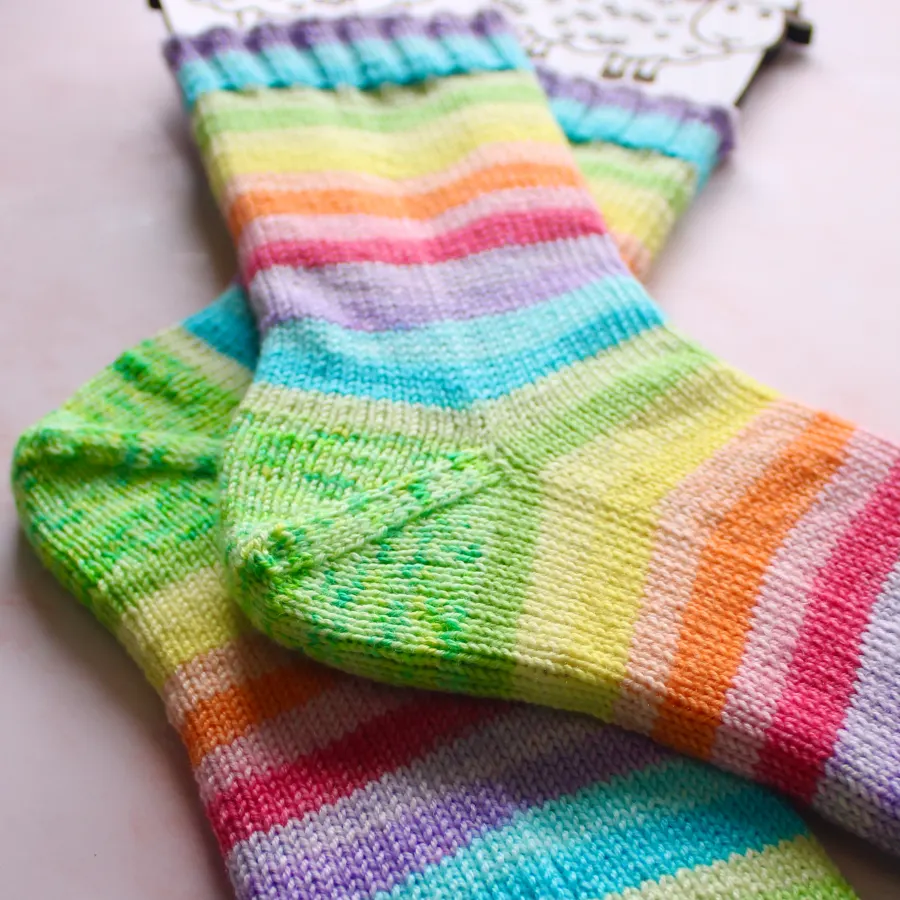
Gussets Worked in Ribbing

Garter-Stitch Heel Flap

Adjusting Socks With Short-Row Heels
There are so many short-row heels out there to choose from! Basic short-row heels essentially work short rows going towards the middle of the sole stitches, and then work short rows going out towards the edges of the sole stitches to make two "wedges", but there are also heels with more wedges, with increases and decreases to form the shape instead of short rows, etc. "Fish Lips Kiss", "Chinstrap", "Sweet Tomato", "Shadow Wrap", and "Boomerang" are just some of the names of variations on short-row heels that are out there for you to explore!
Short-row heels are deeper than the heel turn of a heel-flap heel, and therefore most don't include a gusset in the standard shaping. Many of them are also interchangeable, since you're essentially "pausing" making the main body of the sock to make the heel, working only over the back of leg/sole stitches, and then continuing where you left off with the front of leg/instep stitches once the heel is done. (Check out my guide for making heel substitutions here.) But there are other ways to change the fit of a short-row heel besides substituting!
Best Of Both Worlds: Mini-Gussets
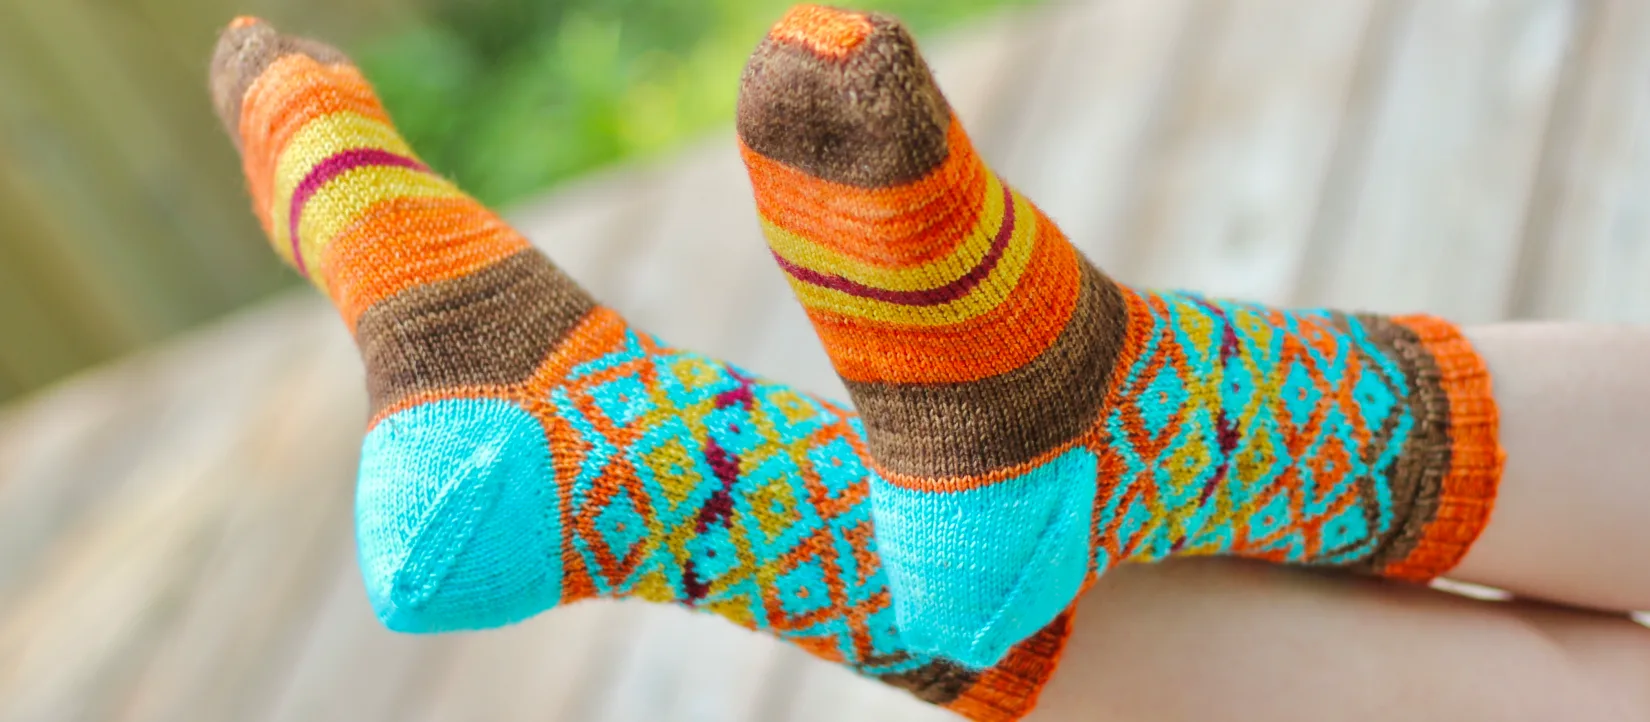
If you see a pattern with a short-row heel and groan, saying something like, "Socks without gussets never fit me," mini-gussets might just change your whole range of available patterns! They require making changes to a small part of the back of the leg and the sole of the foot, so if you're making a pattern where a motif is included in those areas (particularly in the case of stranded-colourwork socks), you might have to get creative about how to manage that break you're inserting into the patterning. But in a large number of patterns, often the sole, at least, is plain, so you only have to deal with fitting the mini-gussets into any leg patterning you might have. Mini-gussets are extremely subtle, almost-invisible adjustments that have a surprisingly-large impact on the final fit — a must for the toolbox of any sock knitter!
Mini-gussets work essentially the same way for toe-up and cuff-down construction, so I'm going to explain them in a direction-neutral way that works for both options. Mini-gussets are created by increasing in the rounds right before the heel to add more room in that area, working the heel itself, then decreasing in the rounds right after the heel to remove those extra stitches. Depending on the pattern, you may find that increasing and decreasing in the middle of where the heel will go (back of leg/sole of foot) works best to hide the increases and decreases, or you may find that you want to increase and decrease where the heel corners will be (i.e., in the gaps between front/back of leg and instep/sole) instead. This choice of where to put the mini-gusset shaping is purely logistical and/or aesthetic; either way, you will get the exact same fit benefits of having extra fabric in the heel diagonals.
I recommend increasing to add one-eighth to one-quarter of the number of stitches that you have on the needles in total, so if you're working a 64-stitch sock, that's 8-16 gusset stitches (4-8 extra stitches on each side). Because short-row heels are deeper on their own, you don't need as many stitches to make a gusset as you would use for a gusset-and-heel-flap sock, so don't rush to say that's not going to be enough additional stitches for your feet. You'll be surprised at how much extra room just a few stitches offers you!
After choosing where to put the mini-gussets, increase using mirrored increases (such as M1L and M1R) in every other round in the right area of the sock as you approach the heel. (If you are working toe-up, be sure you have adjusted for your row gauge and for the increased number of rounds for the gusset increases when you decide where to start this additional shaping.) Now you have two options: work the heel as-written, and leave the extra stitches on the outside of the heel — this is a great way to add more fabric to the sock for higher arches while keeping the heel the same width and depth for those of us with high arches but not wide feet — or use some of your extra stitches to allow you to work a wider heel. (Note that if you choose to make a wider heel, you might have to extrapolate the heel instructions for this new number of stitches yourself, if there is no graded size in the pattern that matches the stitch count you're using.)
Once you are done the heel shaping, regardless of how many stitches you used to do that, you will need to decrease the extra gusset stitches to return to the stitch count the pattern expects when continuing the instructions. I recommend doing so in the same place as where you increased (so, either in the middle of the heel stitches or in the corners of the heel), using mirrored decreases (such as ssk and K2tog), for the best finished look.
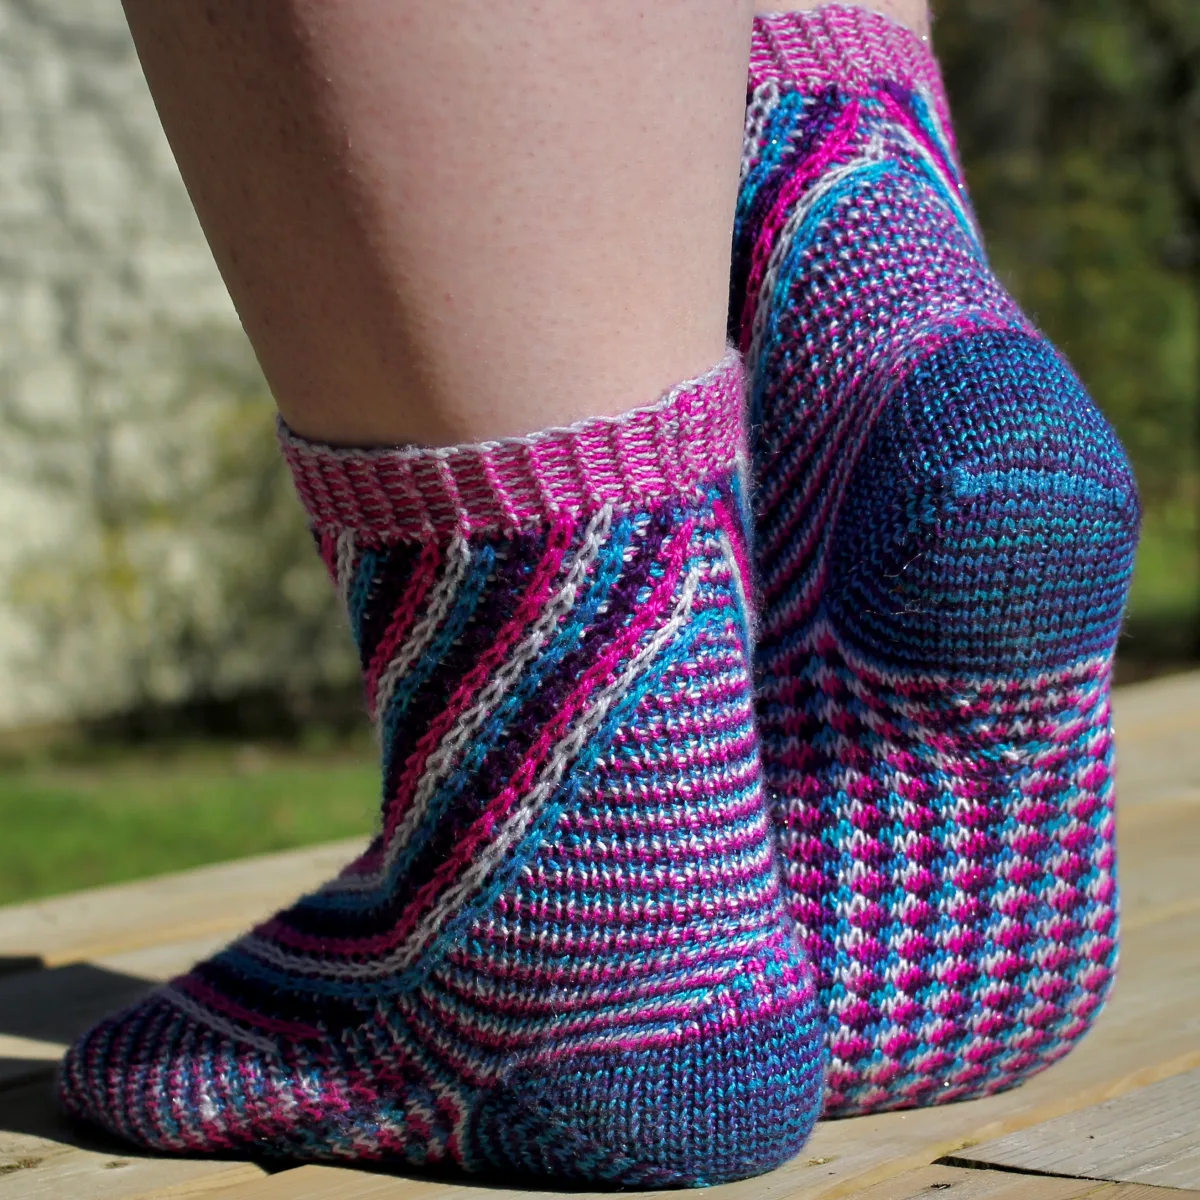
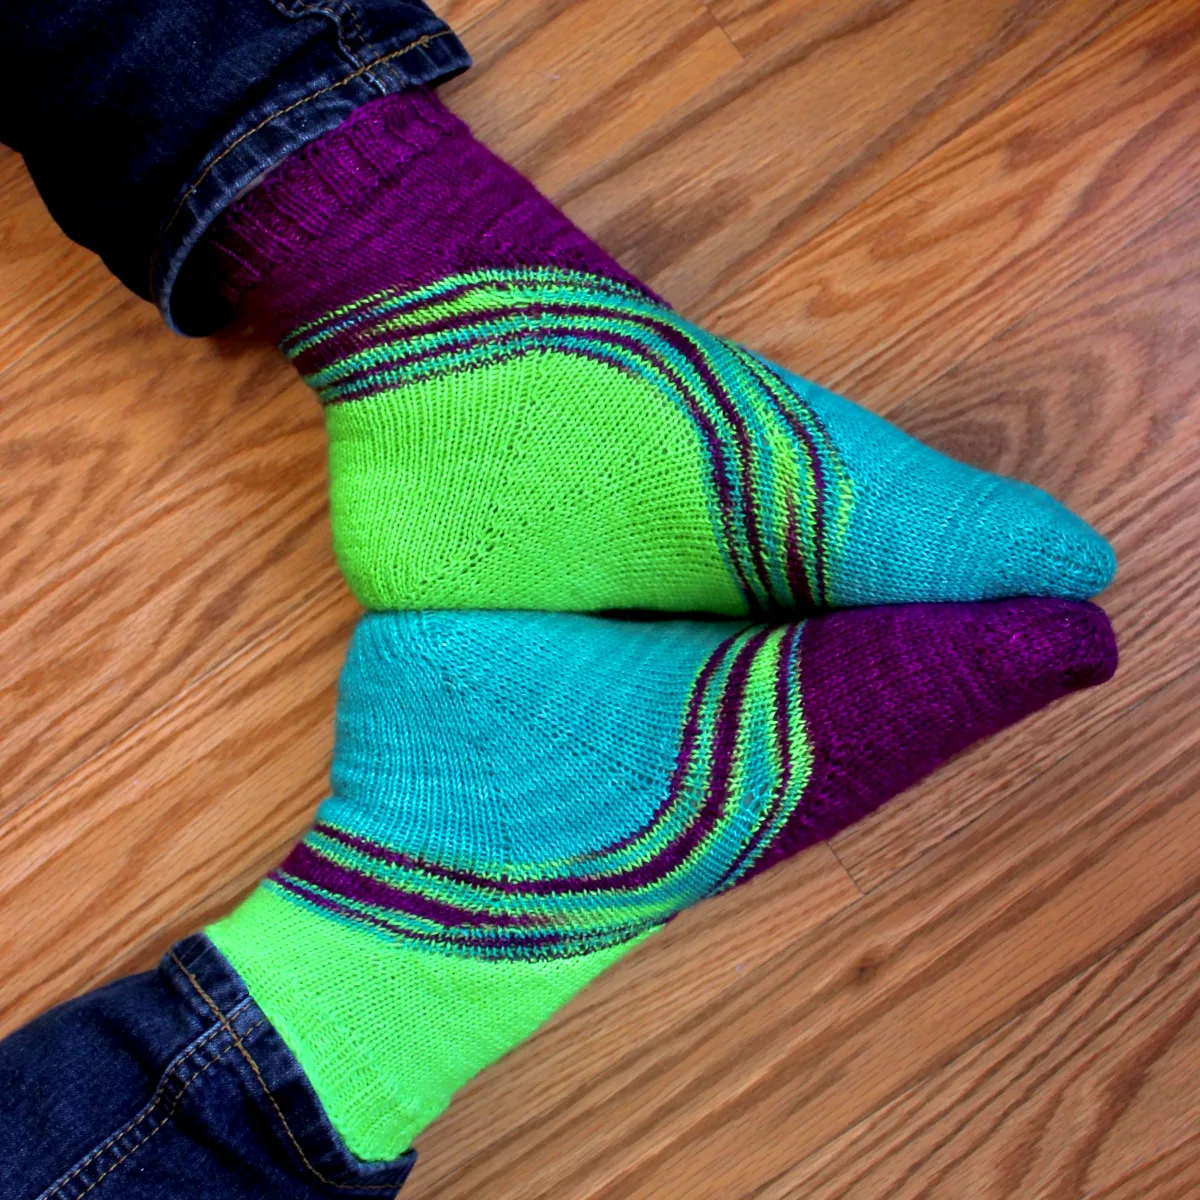
Three-Wedge "Chinstrap" Short-Row Heel

Heel With Accented Mini-Gusset Shaping
Other Adjustment Options
Besides substituting a differently-shaped short-row heel, you can make a few other small changes to adjust the fit of this kind of heel in a more subtle way than with mini-gussets. For example, if you need a smaller, shallower heel than what is included in the pattern, adding heel-flap-like reinforcement to the heel as-written (few short-row heels are written to include reinforcement in their standard instructions) will reduce its overall size and — bonus! — make your socks last longer. This means that as you're working the short-row heel, in plain areas with no turns on the right side of the work, work a sl1, K1 sequence, rather than plain knitting. On the wrong side, purl all the stitches as usual.
One big advantage, design-wise, to using short-row heels is that it's easy to work them in a contrast colour. This also allows for a sort of "hack-y" solution, to borrow a computer programming term, for making the heel bigger or smaller. You can change your gauge just for the heel! To get a smaller heel, you can go down one needle size, and, optionally, use a thinner contrast-colour yarn, as well. To get a bigger heel, choose a thicker yarn and go up one needle size. Stick with only one needle size bigger, and only one yarn thickness bigger than your sock (so, if you are using light fingering, go up to heavy fingering, or go up from an average-weight fingering to sport weight — not a huge difference in thickness like fingering to worsted), to keep the fabric durable enough for socks without making a weird, bulky heel that might be uncomfortable to wear. Follow the heel instructions as-written, and that might be all the adjustment you need to get the fit you're looking for!
To make a wider heel without making gussets, you can work your short-row heel over more than half of the stitches. This is probably one of the more difficult adjustments to make if the design you're making has any patterning at all, though; if you are working a 64-stitch sock, and you want to work a 36-stitch heel (rather than a 32-stitch heel, as is normally the standard width offered), you are likely to run into problems where the designer expected the front-of-leg and instep patterning to be uninterrupted, and so there is an issue with awkward breaks in the look of the socks that you will need to accommodate somehow. In my opinion, it's often less distruptive to work mini-gussets first, if you need a wider heel, but for vanilla socks and some socks with simple or limited patterning, this can be a viable option.
Adjusting Socks With Afterthought Heels
Afterthought heels are sometimes a polarizing choice for patterns. On the one hand, making an afterthought heel can mean everything is worked in the round, which reduces the number of special techniques you need to do to make a sock and makes it a great beginner-friendly option. But it can also be unpopular, since it (by definition) has no shaping built into the body of the sock and this makes it heavily reliant on the stretch of the fabric for fit. However, I think afterthought heels are really underrated; they are actually fantastic for making a customized fit, with lots of shaping options, and even the possibility of gussets!
Heel Shaping Options
An afterthought heel is worked in the round, and the most common shape for one is formed by working decreases in the corners of the heel in essentially the same way as toe decreases are traditionally worked on a cuff-down sock (i.e., mirrored decreases on the far sides of each half of the stitches), with the last few stitches grafted together at the end. This makes a heel with a depth and shape similar to a basic short-row heel. The fact that it's constructed like a "second toe" is what makes it so beginner-friendly, and the stretch of the fabric prevents it from being too pointy.
That said, there are so many other possibilities for how to shape an afterthought heel! Spiral decreases, at various rates and with various numbers of decreases at a time, offer a lot of options all on their own. Some of my patterns use an "Eyeball" heel, with elongated spiral shaping, to make something rounder than a traditional afterthought heel without sacrificing too much heel depth. The biggest advantage to any afterthought heel is that you can try on the heel as you go, and use that fit feedback to decrease more quickly or more slowly, stop and graft sooner for a wider tip, etc. Unless the heel contains an essential part of the patterning on the sock (which is rarely the case), afterthought heels are endlessly customizable to fit exactly the way you like it!
Afterthought Gussets
Yes, this is a thing! You can choose to work short rows in the corners of afterthought heels, before doing the heel decreases, to add more fabric in just the right places to accommodate high arches. While this does require adding a short-row technique to a pattern that otherwise likely doesn't have any, it's a trick that is well worth the time to learn, if you are reluctant to make a heel with no gusset shaping. Afterthought gussets, like all afterthought-heel fit adjustments, are extremely customizable, since you can work as few or as many short rows as you like, with turns spaced as far apart as you like, to find a fit that works for your foot specifically.
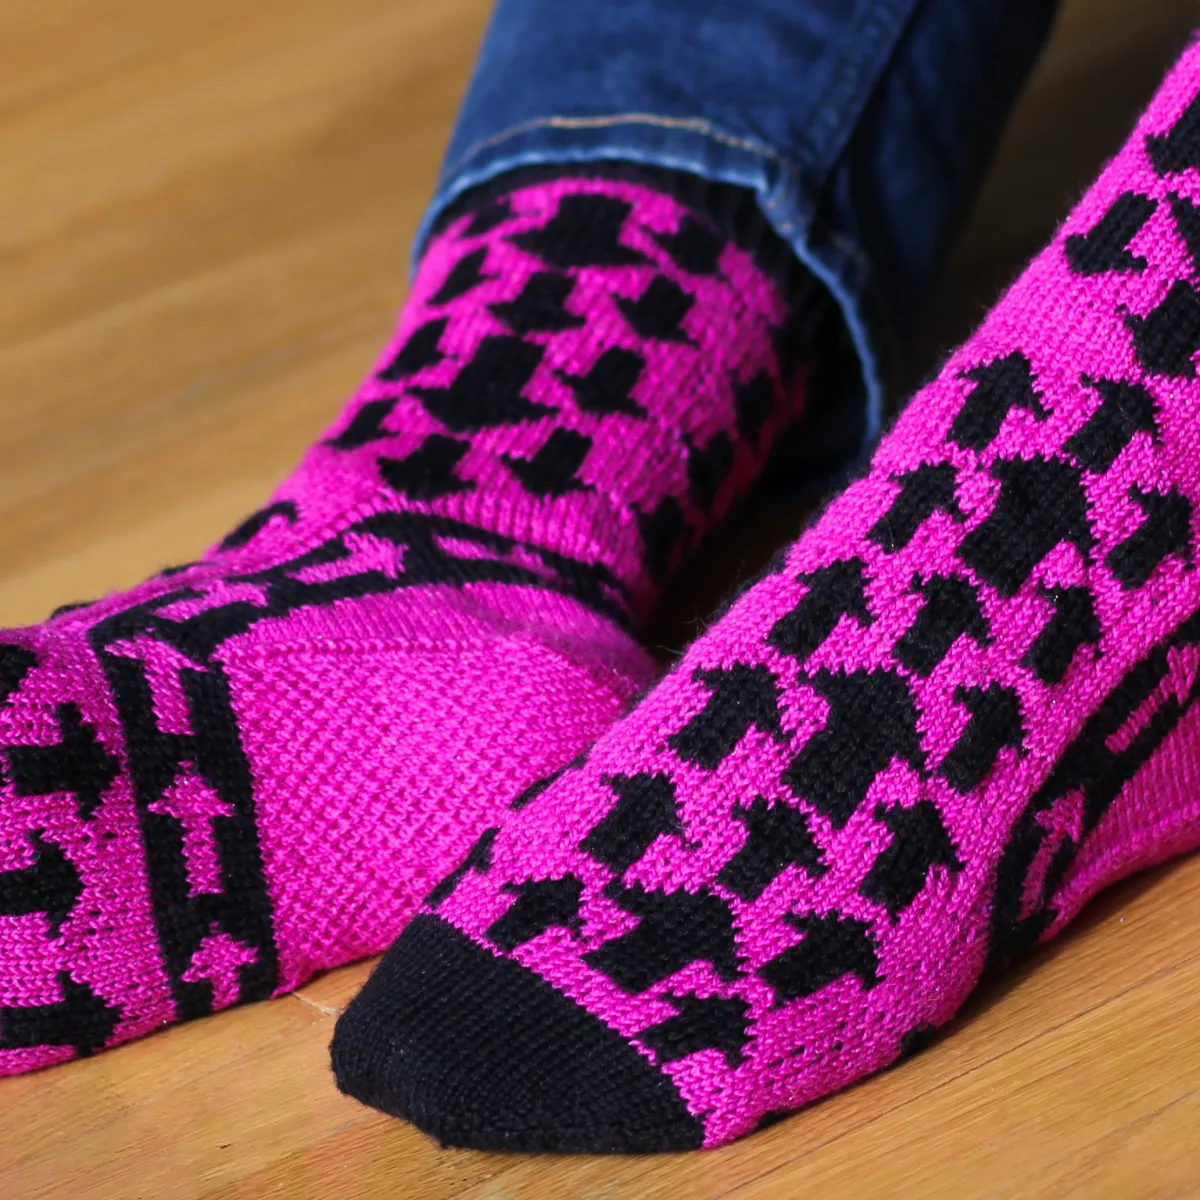
"Eyeball" Afterthought Heel
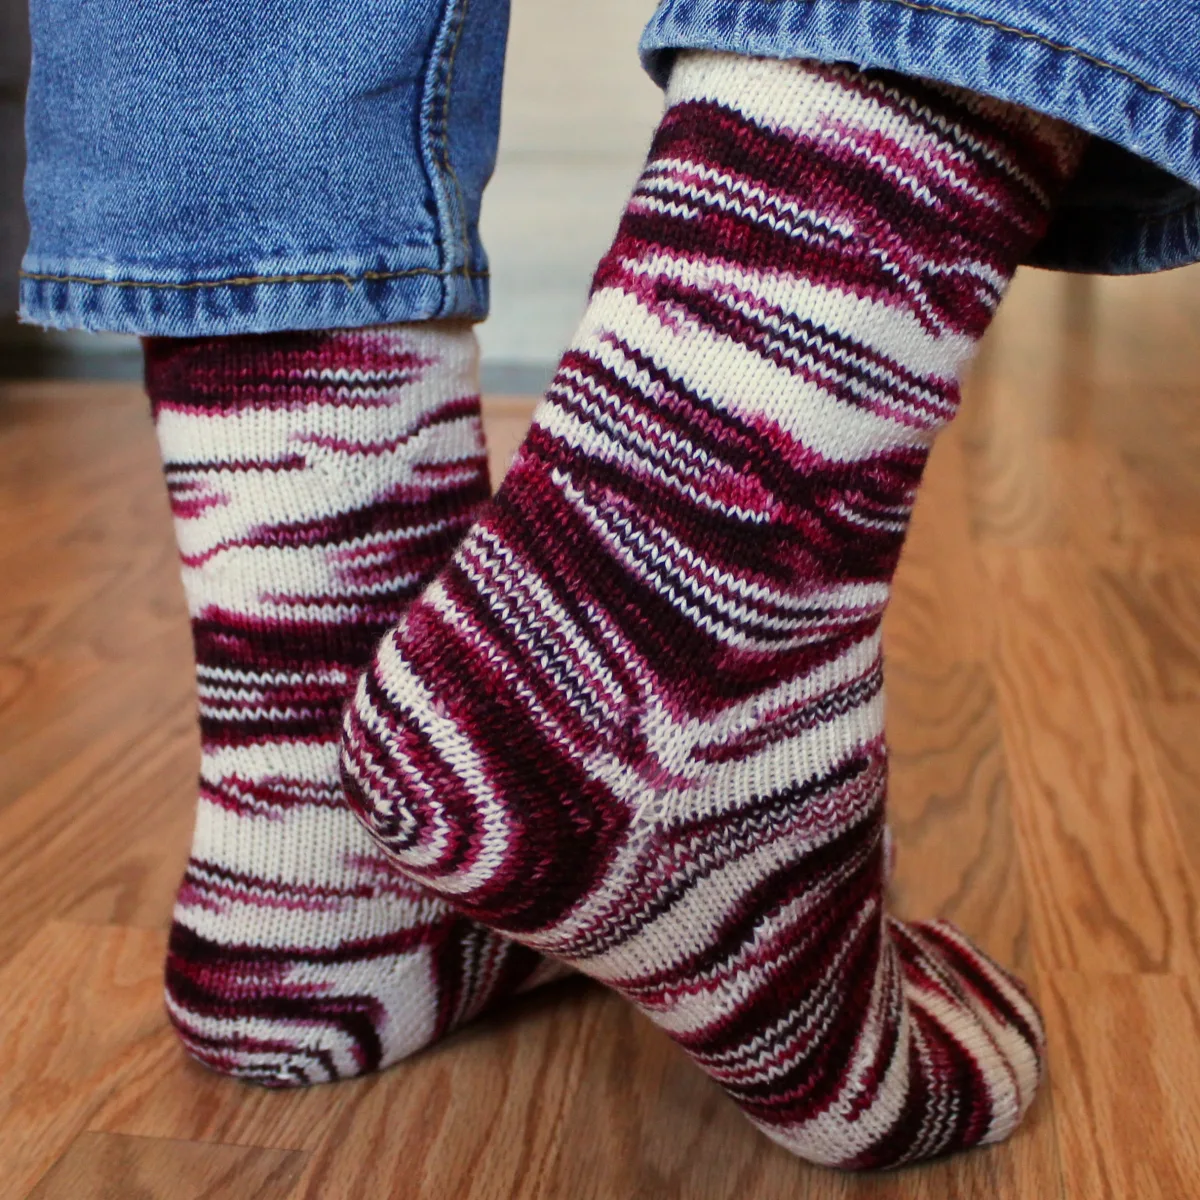
Heel With Afterthought Gussets
Other Adjustment Options
Some of the same adjustment options for short-row heels also work for afterthought heels. For example, adding reinforcement to the heel (i.e., a pattern of slipped stitches) is a low-effort way to make it smaller and flatter, to accommodate low arches and narrow heels. Using thicker or thinner yarn and/or changing needle sizes is also an easy way to change the size of the heel to a more subtle degree without needing to alter the instructions at all.
Working the heel over more than half of the stitches is also an option for making a wider and deeper heel without having to change anything about the heel itself, besides the number of stitches you start with. If you are doing this, though, don't forget that you will have a deeper heel than the pattern intends, so — no matter what direction you're working in — watch your row gauge and make sure you plan your foot length/heel placement accordingly. And, as stated above about using this trick for short-row heels, be aware that it might disrupt the overall look of the sock significantly, compared to the other possible choices for adjusting the fit of the heel.
If you don't mind interrupting the patterning on the body of the sock, you can also work mini-gussets for afterthought heels, just as they are described above for short-row heels. This will affect the body of the sock, however, and it's important to note that often designers put afterthought heels in patterns to avoid changing the stitch count in the body of the sock, either for aesthetic or for logistical purposes. So, in some cases, making this particular fit-adjustment choice might prove to be complicated to implement and/or disruptive to the patterning.
What About Unconventional Socks?
Once socks are constructed in an unusual way, some of the above fit adjustments may be usable — some socks constructed modularly or flat use a normal afterthought heel, for example — but in other cases you may need completely-new strategies for figuring out how to make a sock fit you just right. Particularly when we're talking about working socks that change the stretch direction of the fabric (such as parts of a sock worked heel-up, or all of a sock worked sideways), it is naturally going to be even harder to predict what changes may be necessary to add more fabric along the arch, or to widen the heel, or to prevent the heel from being baggy. Sometimes the pattern will help you (and I do try to do so with my own unconventional patterns!), but often the potential results are too unpredictable or dependent on individual foot shape to offer people straightforward, broadly-applicable fit-adjustment options.
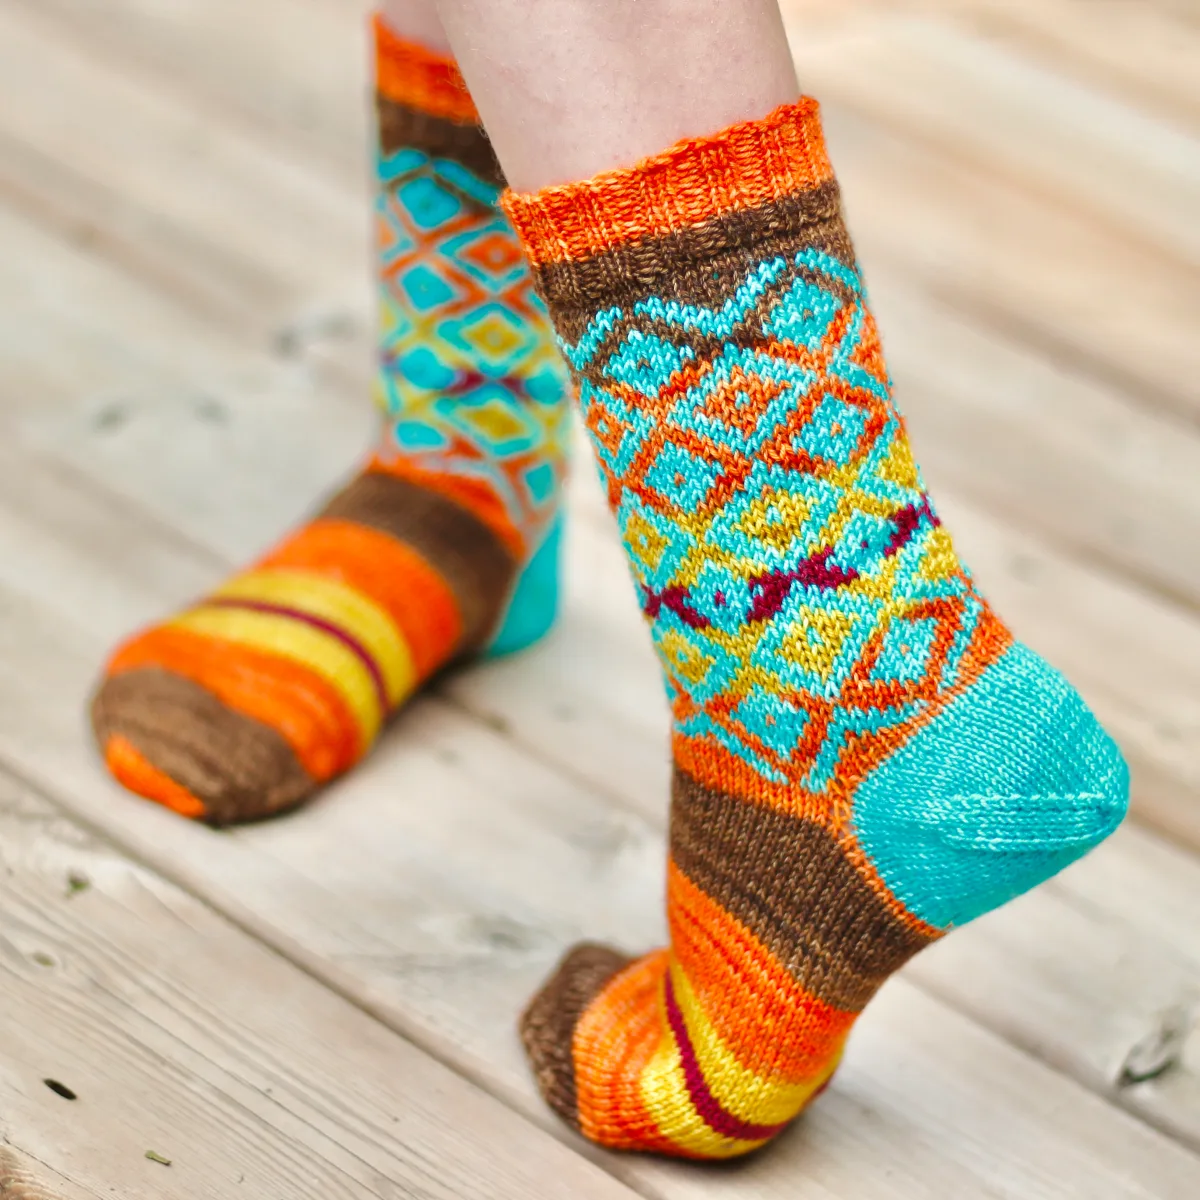
Heel-Up With Adjustable Gusset Heights
Unconventional With Four Gusset Heights
Sure, sometimes making a new-to-you sock shape, unconventional or not, is going to result in some frogging and some re-tries until it's just the way you like it. But I would argue that it's worth the effort! Rather than feeling disappointed every time you see a pattern you love that has the "wrong" heel shape for you (and also rather than only making patterns where you can easily substitute your very favourite heel every single time), why not try out some of these fit-tweak options? They just might allow you to broaden the range of patterns you're comfortable making substantially, and all without compromising on fit.
If in doubt, reach out! I know I'm happy to nerd out with you about creative solutions to whatever fit adjustments you might need to make with my patterns, and lots of other designers feel the same way (but do always check pattern documents/pattern listings/etc. for designers' pattern support policies and the best way to get in touch if you need help). There's always options out there!
Try A New Heel Fit Tweak!
Browse All My Articles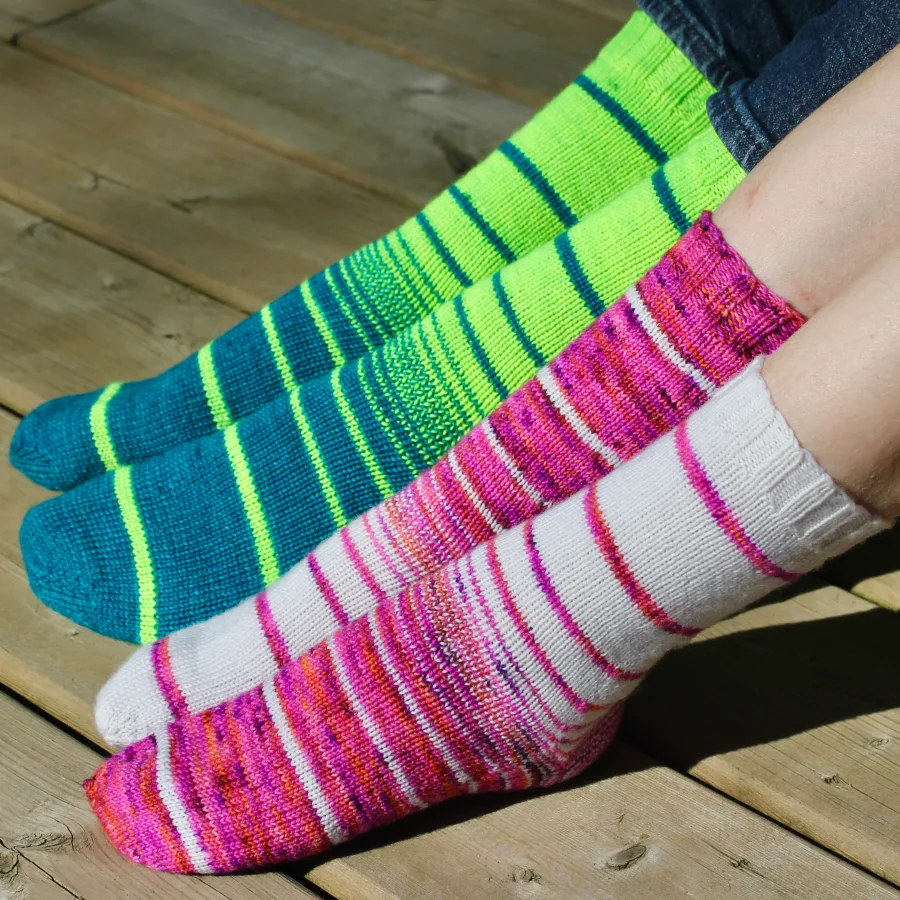

More Knitting Content!

